

Key Takeaways
Why starting from seed saves real money
A single packet of tomato seeds typically costs under two dollars and contains 20 to 30 seeds. A nursery transplant costs two to four dollars per plant. If you want six tomato plants, that difference compounds quickly. Multiply that across peppers, lettuce, basil, zucchini, and marigolds, and starting from seed can cut your annual plant spending by half or more.
Beyond cost, seeds give you access to varieties that nurseries rarely carry. Heirloom vegetables, unusual herb cultivars, and specialty flowers are almost exclusively available as seeds, not transplants. Seed swaps, community libraries, and seed-saving from your own harvest extend those savings further in future seasons.
If you grow vegetables to support your grocery budget, the savings stack. See our practical overview of eating well on a tight grocery budget for how homegrown produce fits into a broader low-cost food strategy.
What you will need
What you actually need to get started
The seed-starting industry sells specialized trays, heat mats, grow lights, and humidity domes. Most of those products are convenient rather than necessary. What you genuinely need is far simpler.
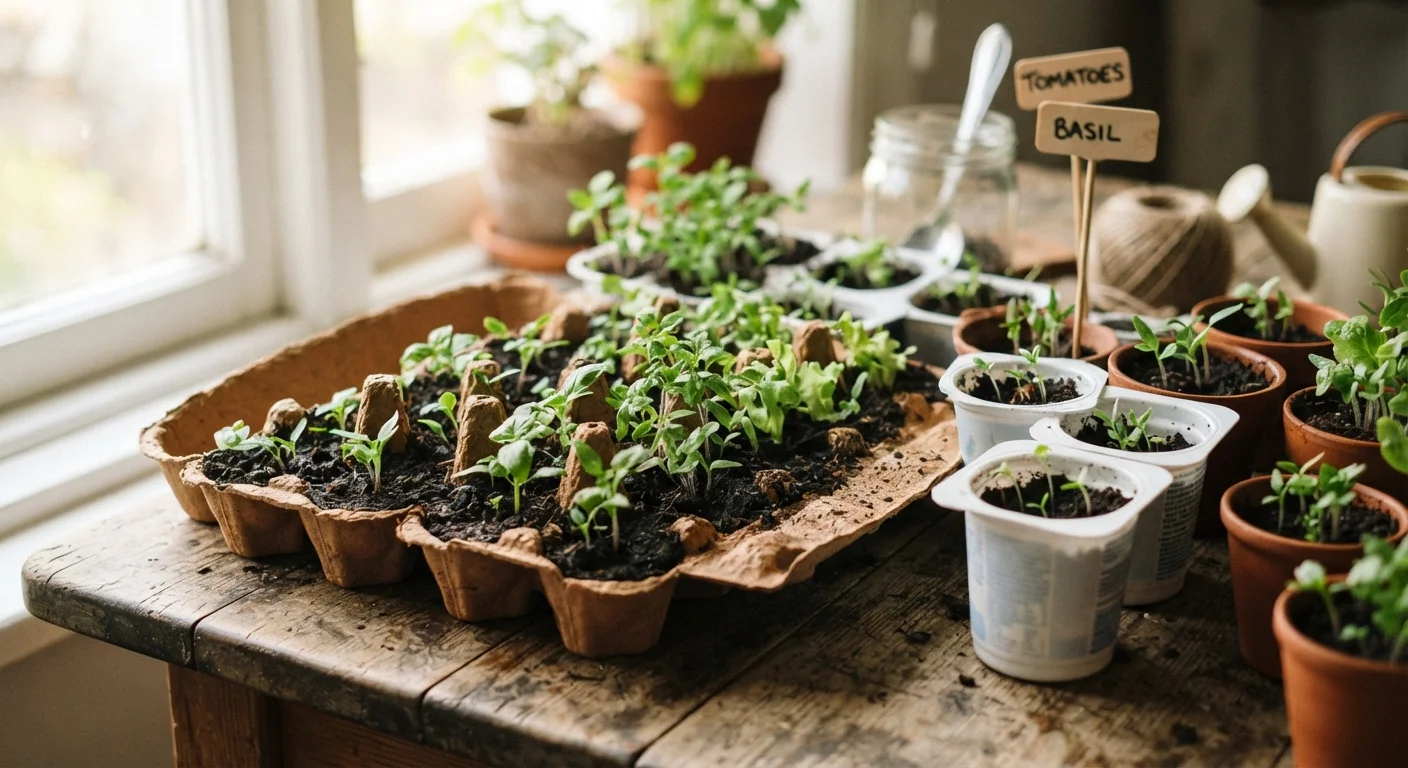
Containers just need to hold about two inches of growing medium, drain water, and be food-safe or clean. Egg cartons, yogurt cups, paper cups, and toilet paper tubes all work. Poke a small hole in the bottom of any container that lacks drainage. If you want something that transplants cleanly, cardboard and newspaper containers decompose in the soil and do not disturb roots.
For growing medium, a basic mix of compost and a small amount of perlite (a lightweight volcanic mineral that improves drainage) produces good results. Avoid garden soil straight from the ground: it compacts, drains poorly, and can carry disease in an enclosed container.
Light is the one genuine requirement. A south-facing window that gets six or more hours of direct light works for tomatoes, peppers, basil, and most other warm-season plants. For shade-tolerant crops like lettuce, kale, and parsley, even an east- or west-facing window is sufficient.
Egg carton or yogurt cups
Free or low-cost containers that hold seed-starting mix and can be cut apart for individual transplanting.
Perlite
Mixed into compost to improve drainage and prevent soil compaction in seed trays.
Spray bottle
Delivers a gentle mist that waters seeds without displacing them or washing away thin soil coverage.
Plastic bag or clear plastic wrap
Placed loosely over trays to retain humidity during germination, acting as a free humidity dome.
Permanent marker and masking tape
Labels each container so you can track what you planted and when.
Shallow tray or baking pan
Sits under seed containers so you can water from below, which reduces damping-off risk.
Step-by-step: starting seeds at home
The steps below cover everything from filling your containers to transplanting seedlings outdoors. Work through them in order, and refer to the seed packet for the specific timing recommendations for each plant type.
Read the seed packet before anything else
The packet tells you how many weeks before the last frost to start seeds indoors, how deep to plant, and whether the plant prefers warmth or cool soil to germinate. Note the recommended start date on a calendar. Most vegetable seeds started indoors are sown 4 to 8 weeks before the expected last frost date for your area.
Prepare and fill your containers
Poke a small drainage hole in the bottom of each container if one is not already present. Fill containers to within a quarter inch of the top with your growing medium. Moisten the mix with water until it holds its shape when squeezed but does not drip. Pre-moistening the mix before seeding is easier than watering dry soil after the seeds are placed.
Sow seeds at the right depth
A general rule: plant seeds at a depth equal to twice their diameter. Tiny seeds like lettuce and basil need only light surface contact and a dusting of soil on top. Larger seeds like pumpkin or sunflower go about an inch deep. Place two seeds per cell or cup to improve germination odds, then thin to one seedling once both have sprouted.
Cover and place in a warm spot to germinate
Cover trays loosely with a plastic bag or a sheet of plastic wrap to hold in moisture. You do not need light during germination: warmth matters more at this stage. The top of a refrigerator, a spot near a heat register, or any location with consistent warmth around 70 degrees Fahrenheit works well. Check daily and remove the cover as soon as you see the first sprouts.
Move seedlings to light and keep them watered
Once seedlings break the soil surface, move trays to your sunniest window. Water by setting trays in a shallow pan of water for 20 to 30 minutes, which lets the soil absorb moisture from the bottom up. Allow the surface to dry slightly between waterings. Thin to one plant per cell once seedlings have their first true leaves (the second set of leaves that appear after the initial seed leaves).
Harden off before transplanting outdoors
Seedlings grown indoors need gradual exposure to outdoor conditions before they go into the ground or a container. Set trays outside in a sheltered, shaded spot for one to two hours on the first day. Increase outdoor time by one to two hours each day over the course of one to two weeks, gradually introducing more direct sun and wind. After this period, seedlings are ready for their permanent spot.
Troubleshooting common problems
Leggy seedlings (long, thin stems that flop over) mean the plants are not getting enough light. Move them closer to the window, rotate the tray daily so all sides receive equal exposure, or raise the tray on a box to bring it closer to the glass.
Damping off is a fungal problem that causes seedlings to collapse at the soil line. It spreads in wet, poorly ventilated conditions. Water from below by setting trays in a shallow pan rather than pouring water on the soil surface, and remove any covering as soon as seeds sprout.
Slow or uneven germination is usually a temperature issue. Most vegetable seeds germinate fastest when soil temperature is between 65 and 75 degrees Fahrenheit. Placing trays on top of a refrigerator or near a heat vent can raise soil temperature by several degrees without any special equipment.
Once seedlings are established, you have more options for where they grow. If outdoor space is limited, our container gardening guide for renters and small yards covers how to transplant into pots and buckets rather than ground beds. For a longer-term cost strategy, low-maintenance perennials eliminate the seed-starting step entirely for certain plants.